Out of the box, a Fire TV Stick takes about 20 minutes to go from plastic wrap to fully working — and another 10 to make it noticeably better with the right settings. This guide covers the Fire TV Stick 4K Max, our current best-overall streaming device, but the steps apply to every recent Fire TV model.
Don’t have one yet? Check the current price →
Step 1: Connect the Hardware
- Plug the stick into a free HDMI port on your TV (use the included extender if the port is cramped — it also improves Wi-Fi reception).
- Connect the USB power cable to the included power adapter, not the TV’s USB port — TV ports often deliver too little power and cause random restarts.
- Put batteries in the remote; it pairs automatically when the stick boots.
- Switch the TV to the correct HDMI input.
(Screenshot placeholder: Fire TV first-boot screen)
Step 2: Connect to Wi-Fi and Sign In
- Select your language.
- Pick your Wi-Fi network and enter the password. On the 4K Max, use your router’s 5 GHz or 6 GHz network if it broadcasts one — it’s markedly faster than 2.4 GHz.
- Sign in with your Amazon account (or create one free). Buying the stick from your own Amazon account usually means it arrives pre-registered.
- When asked, let the remote configure TV power and volume control — this is what lets you shelve the TV’s own remote.
Step 3: Skip the Upsells, Install Your Apps
The setup wizard will offer app bundles and Prime trials — you can skip everything and choose yourself. Then install what you actually use:
- From the home screen, open Search (magnifying glass) or press the microphone button and say the app name.
- Recommended baseline: Netflix, YouTube, Prime Video, Disney+, plus your national broadcaster apps — see our country guides for Germany, France, Spain and Italy.
- Live TV from your provider’s playlist? Install TiviMate — full walkthrough in our TiviMate setup guide.
- Own media library? Add Plex or Jellyfin — compared in our streaming apps guide.
Step 4: Ten Minutes of Settings That Matter
All under Settings (gear icon):
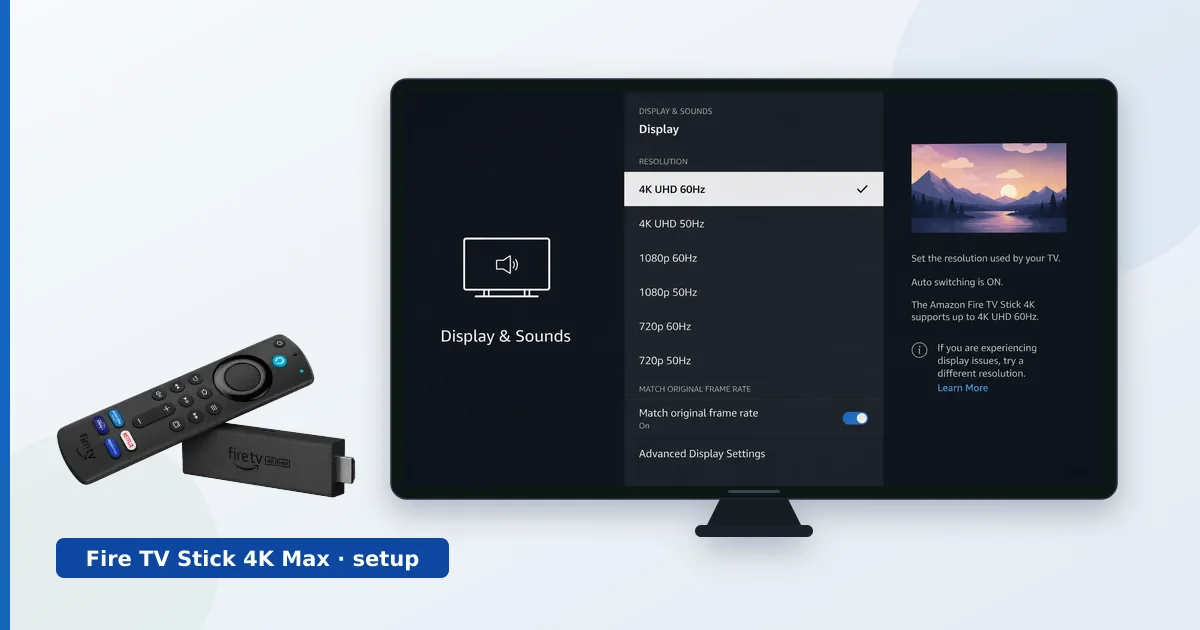
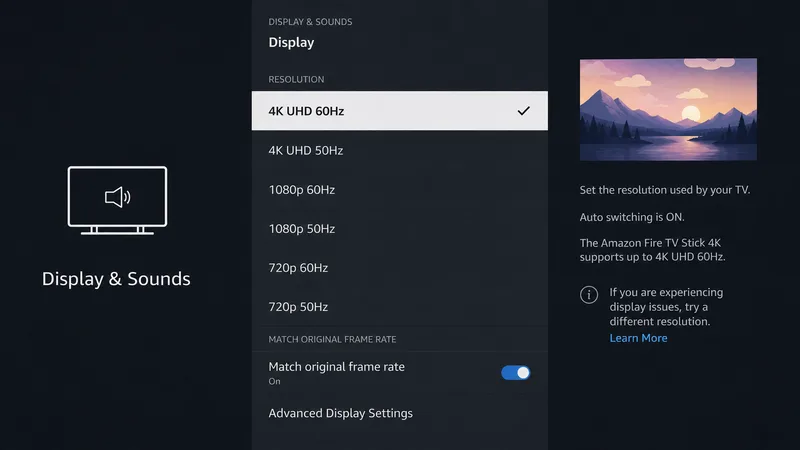
- Display & Sounds → Display: set resolution to match your TV; enable Match original frame rate so films play at 24p without judder.
- Display & Sounds → Audio: enable Dolby Atmos passthrough if your soundbar supports it.
- Preferences → Privacy Settings: turn off Interest-based Ads, Data Monitoring and App Usage Data.
- Preferences → Featured Content: turn off video and audio autoplay — the home screen becomes calmer and quieter.
- Preferences → Parental Controls: set a PIN if children use the TV.
- Applications → Appstore → Automatic Updates: on — security patches without thinking about it.
Step 5: Learn the Three Best Remote Tricks
- Long-press Home → quick menu with Apps, Sleep and Settings.
- Voice search works across apps: “Open Netflix”, “Search for Italian series”, “Rewind two minutes”.
- Restart without pulling the plug: hold Select + Play/Pause for 5 seconds — fixes most glitches.
Optional: Wired Internet and VPN
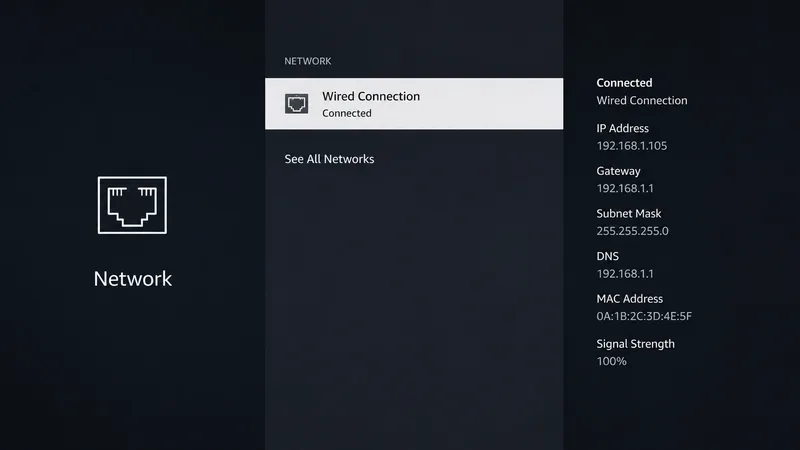
- Ethernet: for buffer-free 4K in Wi-Fi dead zones, the official Ethernet adapter (≈ €15, check price) plugs in between power and stick.
- VPN: for privacy on your streaming traffic, every major VPN has a native Fire TV app — step-by-step in How to Set Up a VPN on Fire TV Stick, and our tested picks in the best VPNs for streaming.
Troubleshooting
| Problem | Fix |
|---|---|
| Remote won’t pair | Hold Home for 10 seconds near the stick |
| Random restarts | Use the included power adapter, not the TV’s USB port |
| 4K not available | Check HDMI 2.0+ port, and Settings → Display set to 4K |
| Apps crash/slow | Uninstall unused apps; restart via Select + Play/Pause |
| Buffering | Switch to 5 GHz Wi-Fi or the Ethernet adapter |
Next Steps
Your stick is ready. To get the most from it: pick your services with our country-specific guides, and if you’re deciding whether to upgrade an older stick, our streaming device comparison shows what the 4K Max does better.