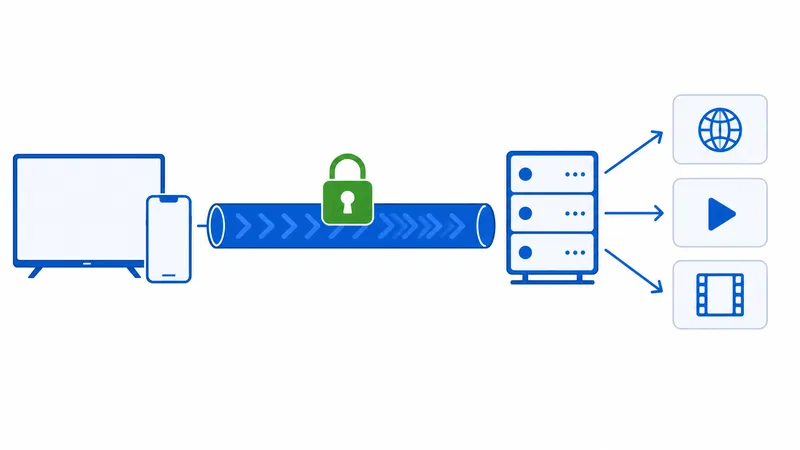
Every major VPN now ships a native Fire TV app, so putting your streaming traffic behind a VPN takes about 10 minutes and zero technical tricks. This guide uses the Fire TV Stick 4K Max — our top streaming device — but applies to all recent Fire TV models.
What you need:
- A Fire TV Stick, set up and online (setup guide here)
- A VPN subscription — our speed-tested picks are in the best VPNs for streaming; NordVPN was the fastest in our European tests (check current deal)
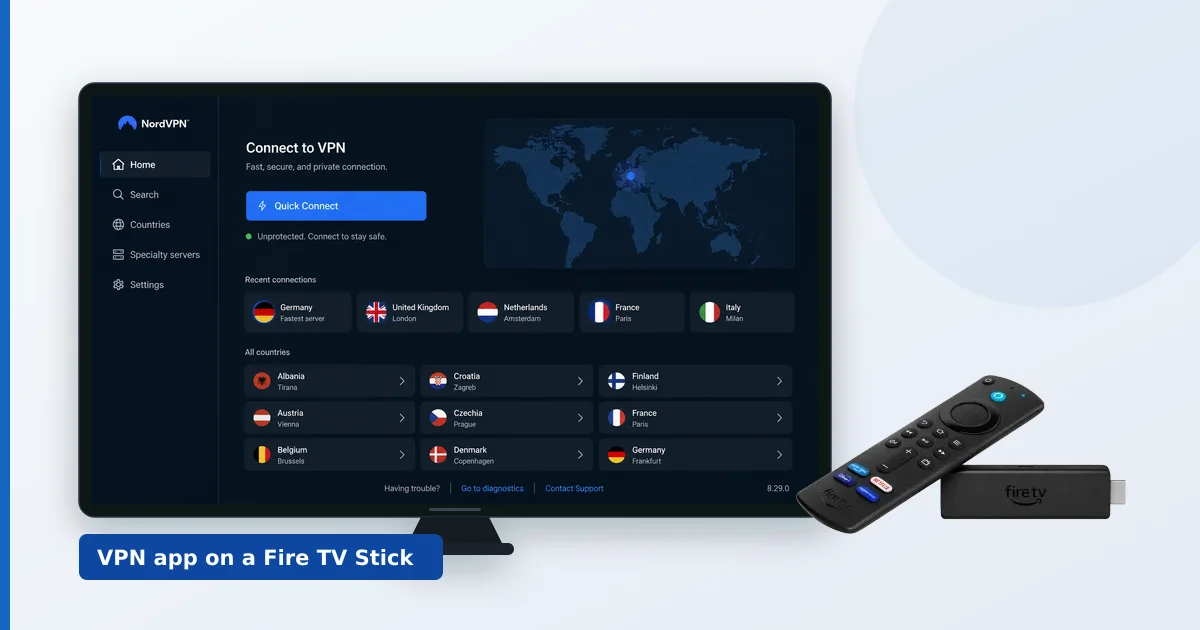
Step 1: Install the VPN App
- From the Fire TV home screen, open Search and type your VPN’s name (e.g. “NordVPN”, “Surfshark”).
- Select the official app and press Download.
- Open the app once installed.
(Screenshot placeholder: VPN app in the Amazon Appstore)
No sideloading, no APKs — if a “tutorial” tells you to sideload a mainstream VPN, it’s outdated. Native apps update themselves and integrate with the remote properly.
Step 2: Sign In
- Most apps show a code or link (e.g. “go to provider.com/tv and enter this code”) — do that on your phone or PC; the TV app logs in automatically.
- Alternatively, enter your email and password directly with the remote.
Step 3: Connect — and Pick the Right Server
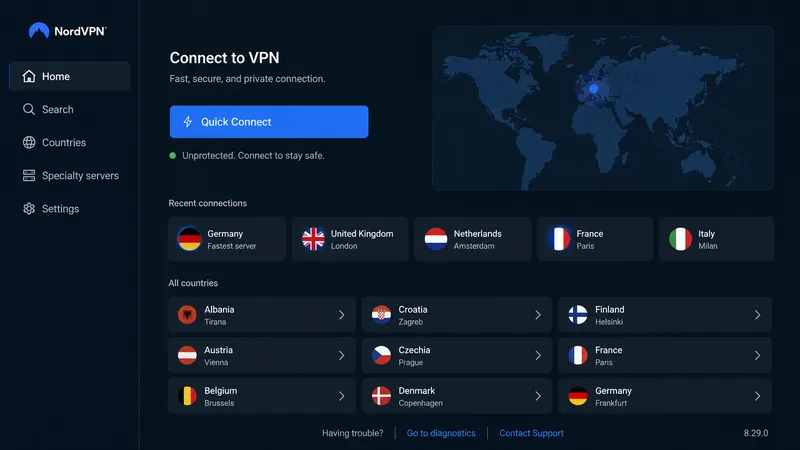
- Press the big Connect / Quick Connect button — the app picks the best nearby server.
- Accept the VPN connection request Android shows on first use.
- A key icon appears in the status bar: you’re connected.
For best streaming speed:
- Choose a server in your own country or a neighbouring one — distance costs speed.
- Prefer the provider’s recommended server over picking manually.
- On CyberGhost, use the streaming-optimised server list; on NordVPN/Surfshark, Quick Connect is usually optimal.
Step 4: Settings Worth Changing
In the VPN app’s settings:
- Protocol: ensure a WireGuard-class protocol is selected (NordLynx on NordVPN, WireGuard on Surfshark/CyberGhost/Proton, Lightway on ExpressVPN) — it made a 10–20% speed difference in our tests.
- Auto-connect on startup: enable if you want the VPN always on; skip if you toggle it per session.
- Split tunneling (where offered): exclude apps you want outside the VPN — useful if one service objects to VPN traffic while everything else runs through it.
- Kill switch: optional on a TV stick; it blocks traffic if the VPN drops, which favours privacy over uninterrupted playback — your choice.
Step 5: Verify It Works
- Open the VPN app — status should read Connected with a server name.
- Play something in any streaming app and confirm smooth playback.
- Speed check: install a speed test app from the Appstore (or use fast.com in the Silk browser) with VPN on vs off. Keeping 80%+ of your base speed on a nearby server is normal; much less means try another server or protocol.
Alternative: VPN on the Router
Running the VPN on your router covers every device at home — smart TVs, consoles, everything — with one connection:
- Easiest: ExpressVPN’s Aircove router ships with the VPN built in (details here).
- DIY: many ASUS/GL.iNet routers accept WireGuard configs from your provider — check your VPN’s router documentation.
- Trade-offs: all traffic shares one VPN location, and router CPUs can cap speeds below what the stick app achieves.
Troubleshooting
| Problem | Fix |
|---|---|
| Streaming app won’t load | Switch server (same country); try the recommended/streaming server |
| Slow/buffering | Nearby server + WireGuard-class protocol; test speed with VPN off to compare |
| VPN disconnects | Enable auto-reconnect; check the stick isn’t running out of memory (close unused apps) |
| App missing on old stick | Very old Fire OS versions lose support — see current devices |
Next Steps
- Comparing providers first? Our five speed-tested VPNs for streaming ranks them on retained speed and TV-app quality.
- New stick to configure? Start with the Fire TV Stick setup guide.
- Watching live TV via your provider’s playlist? Pair the VPN with TiviMate.